

If you are a crafter who loves to use Cricut machines, you may have wondered how to upload SVG files to Cricut Design Page. SVG files are Scalable Vector Graphics files that can be resized without losing quality. They are ideal for cutting, drawing, scoring, and other actions that you can do with your Cricut machine. In this blog post, we will show you how to upload SVG files to Cricut Design Page in a few easy steps.
What You Need
To upload SVG files to Cricut Design Page, you will need:
• A Cricut machine (Cricut Joy, Cricut Explore 3, or Cricut Maker 3)
• A computer, tablet, or smartphone with internet connection
• The Cricut Design Space app or software
• An SVG file that you want to upload (you can create your own SVG file using software like Adobe Illustrator or Inkscape, or you can download free or paid SVG files from websites like Kukai Art
https://www.youtube.com/watch?v=UhOZK7rnbwk
How to Upload SVG File to Cricut Design Page
Here are the steps to upload SVG file to Cricut Design Page:
1. Open the Cricut Design Space app or software on your device.If you don't have it, you can download it for free from the Cricut website https://www.youtube.com/watch?v=Cmfo_G_-d18.
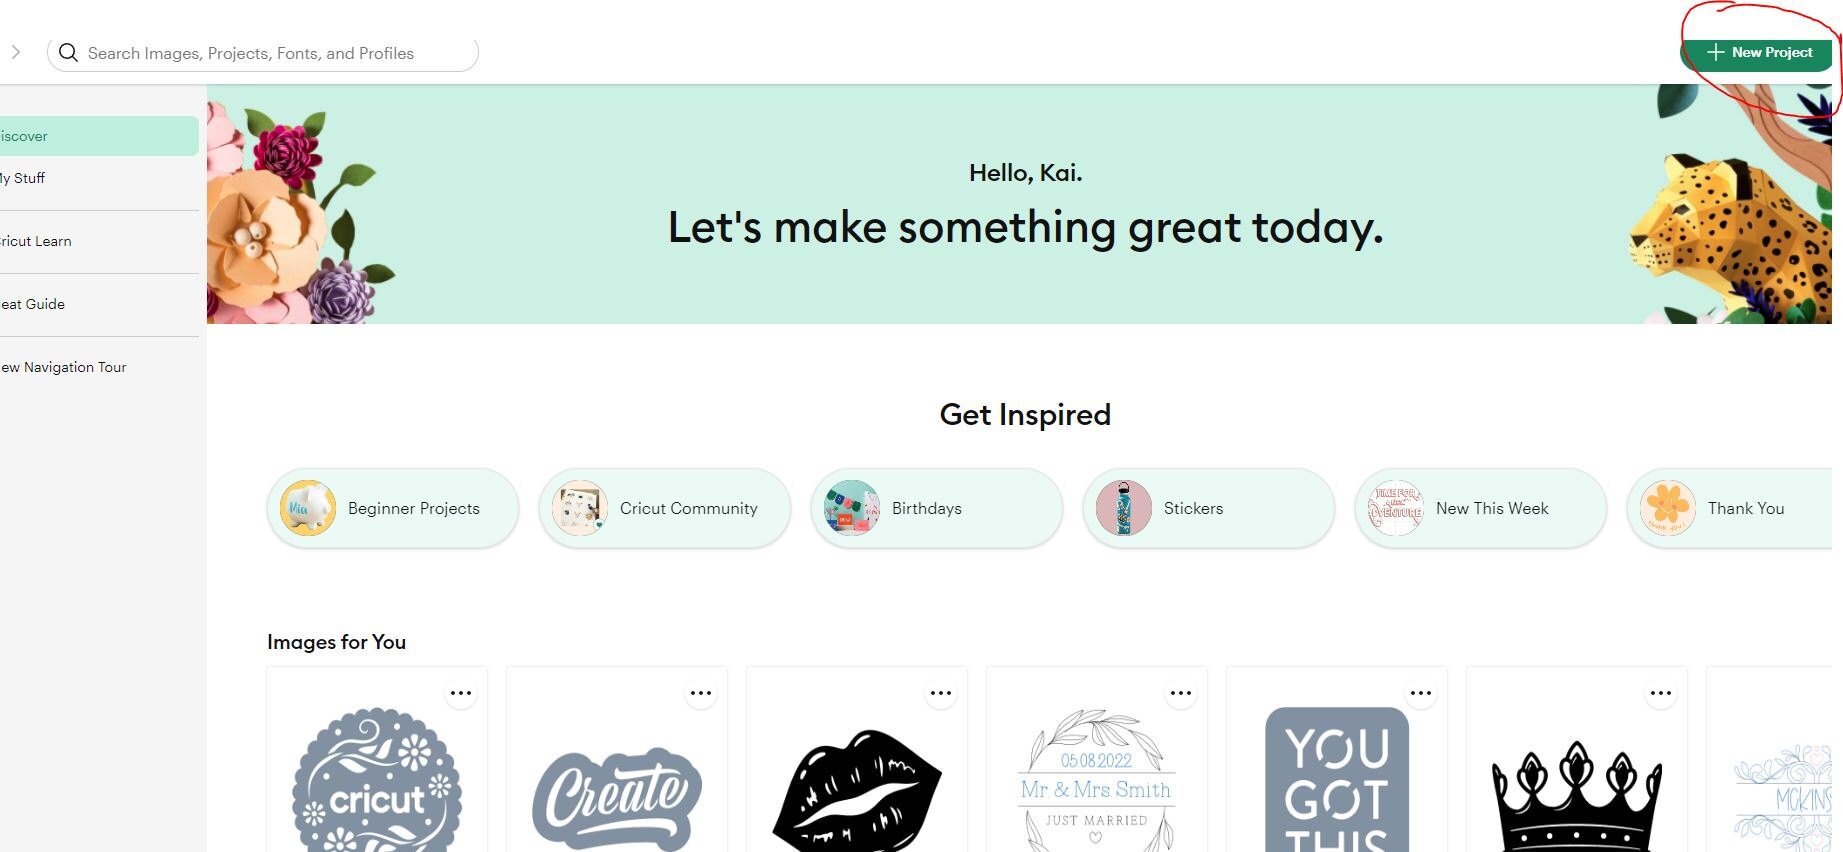
2. Create a new project by clicking on the New Project button on the top right corner of the screen.
3. Click on the Upload button on the left panel of the screen. This will open the Upload screen where you can see your recently uploaded images and upload new ones.
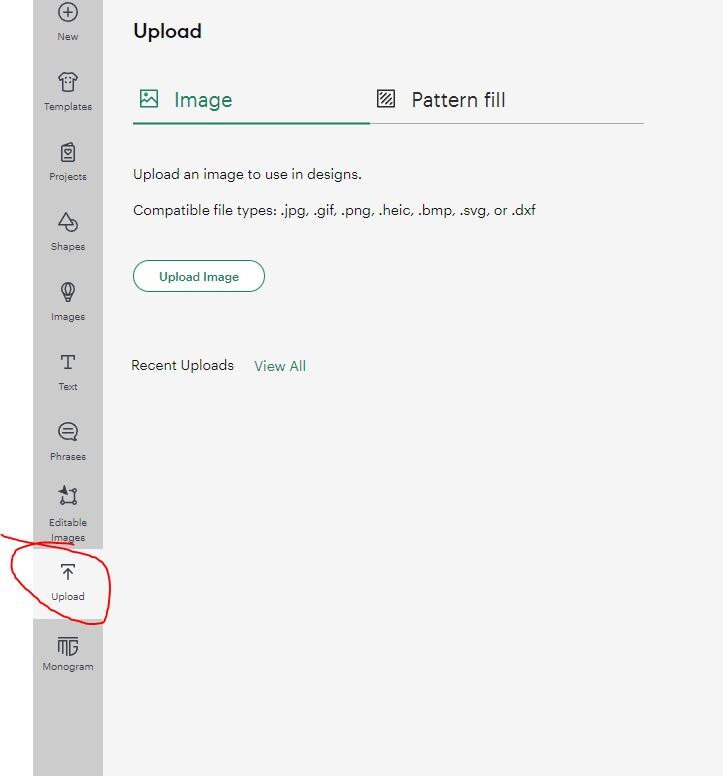
4. Click on the Upload Image button on the bottom left corner of the screen. This will open a window where you can browse your device and select the SVG file that you want to upload.
5. Select the SVG file that you want to upload and click on the Open button. This will upload the SVG file to Cricut Design Page and show you a preview of the image.
6. Add a name and tags to your image to make it easier to find later. You can also edit the image size and color if you want. Then click on the Save button. This will save the image to your uploaded images library.
7. Select the image that you just uploaded and click on the Insert Images button. This will insert the image to your canvas where you can resize, rotate, flip, or change its color as you wish.
8. Click on the Make It button on the top right corner of the screen and follow the instructions to send your design to your Cricut machine for cutting.
Some Tips and Tricks
Here are some tips and tricks to help you upload SVG files to Cricut Design Page:
• If your SVG file is in a ZIP file, make sure you extract it first before uploading it to Cricut Design Page. You can use software like WinZip or 7-Zip to extract ZIP files.
• If your SVG file has multiple layers or colors, you can ungroup them and change their colors or hide them as you want. To ungroup an image, select it and click on the Ungroup button on the top panel of the screen. To change the color of a layer, select it and click on the Color button on the top panel of the screen. To hide a layer, select it and click on the Eye icon on the right panel of the screen.
• If you want to upload multiple SVG files at once, you can select them all and drag and drop them to the Upload screen. You can also select multiple images from your uploaded images library and insert them to your canvas at once.
We hope that this blog post has helped you learn how to upload SVG files to Cricut Design Page. If you have any questions or comments, please leave them below or contact us through our website. We would love to hear from you.
Happy crafting!