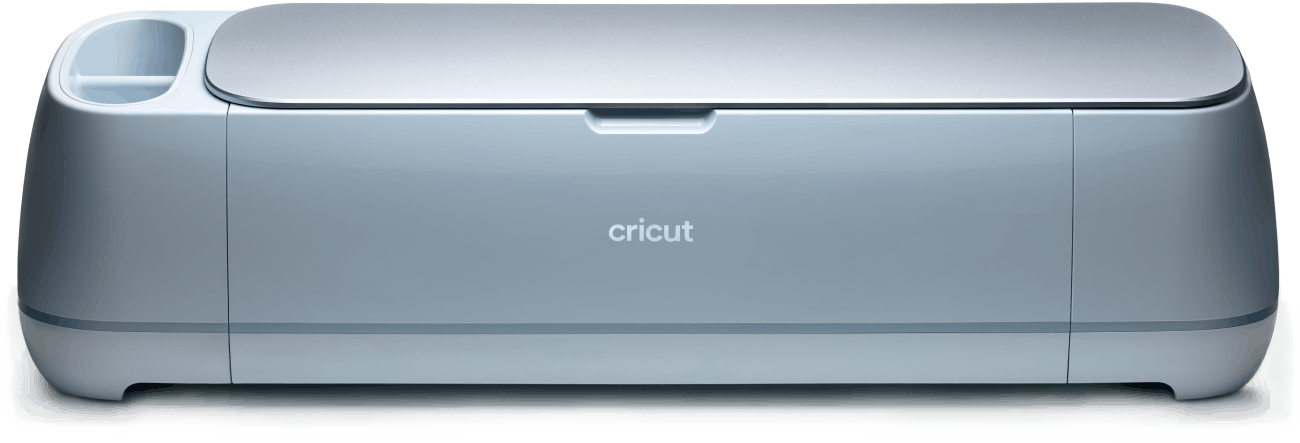
How to make a stencil with Cricut?
Image Source By Cricut
Creating a stencil with a Cricut machine is a fantastic way to add personalized designs to a variety of surfaces. Whether you're looking to decorate home decor, create custom t-shirts, or add a unique touch to your crafts, a Cricut can help you achieve precise and intricate designs with ease. Here's a step-by-step guide on how to make a stencil with your Cricut:
Materials Needed:
• Cricut machine (Cricut Maker, Explore Air, or Joy)
• Design software (Cricut Design Space)
• Stencil material (vinyl, mylar, or stencil film)
• Cutting mat
• Weeding tools
• Transfer tape (optional)
• Paint or ink for applying the design
• A surface to stencil on (wood, fabric, paper, etc.)
Step 1: Design Preparation
Begin by selecting or creating your design in Cricut Design Space. You can either upload a custom design or choose from the extensive library of images and fonts available within the software. Once you have your design, resize it to fit your project's dimensions.
Step 2: Material Selection
Choose the appropriate stencil material for your project. Options include Cricut stencil vinyl, removable vinyl, or mylar sheets. Each material has its own benefits, so select one that suits your specific needs and the surface you'll be stenciling.
Step 3: Cutting the Stencil
Place your stencil material onto the cutting mat and load it into your Cricut machine. In Design Space, adjust the cut settings to match your material type. For example, if you're using stencil vinyl, you'll want to select the 'Stencil Vinyl' setting. Then, initiate the cutting process.
Cricut Maker
Step 4: Weeding
After the machine has finished cutting, remove the stencil material from the cutting mat. Use weeding tools to carefully remove the excess material, leaving only your design on the backing paper.
Essentials Materials Bundle. Image Source By Cricut
Step 5: Transfer (Optional)
If your design has intricate details or you're working with a delicate surface, you may want to use transfer tape to move your stencil. Apply the transfer tape over your design, use a scraper tool to ensure good adhesion, and then carefully peel back the tape, bringing your stencil design with it.
Step 6: Applying the Stencil
Position your stencil on the desired surface. If you're using transfer tape, press it down firmly and then gently remove the tape, leaving the stencil in place. Ensure there are no air bubbles or wrinkles.
Step 7: Painting
Apply paint or ink over your stencil using a brush or sponge. Be sure to use a dabbing motion to prevent the paint from bleeding under the stencil. Allow the paint to dry slightly before carefully removing the stencil to reveal your design.
Step 8: Cleanup and Reuse
Clean your stencil with warm water and mild soap if it's reusable. Dry it thoroughly before storing or using it again.
Tips for Success:
• Use a light adhesive spray on the back of your stencil to help it stick to the surface without moving.
• Apply a thin layer of Mod Podge over the stencil before painting to prevent bleeding.
• Practice on a scrap piece of material before applying your stencil to the final surface.
With these steps, you'll be able to create beautiful, custom stencils for all your crafting needs. Happy stenciling!


